Skip to content
      • Blog
      • Catalog
      • Testimonials
      • Legal Policies
      • Privacy
      • Contact
      • Blog
      • Catalog
      • Testimonials
      • Legal Policies
      • Privacy
      • Contact
      • Toll Free: 888-246-6909

        Hours: 8am-5pm Weekdays Central Time.
        Closed Weekends

      Mighty CoversMighty Covers
      • Login
      • Cart / $0.00
        • No products in the cart.

      • Checkout +
      • Toll Free: 888-246-6909

        Hours: 8am-5pm Weekdays Central Time.
        Closed Weekends

      • Cart

        No products in the cart.

      • Checkout +
      Installed Safety Cover
      Home / Swimming Pool Covers and Accessories / Safety Pool Covers - Mesh and Solid / Safety Cover Installation Guides

      Safety Cover Care and Maintenance

      • Install Guides pic 1

      Category: Safety Cover Installation Guides
      • Install Guides pic 1
      • Description

      How to extend the use and life of your pool safety cover and hardware.


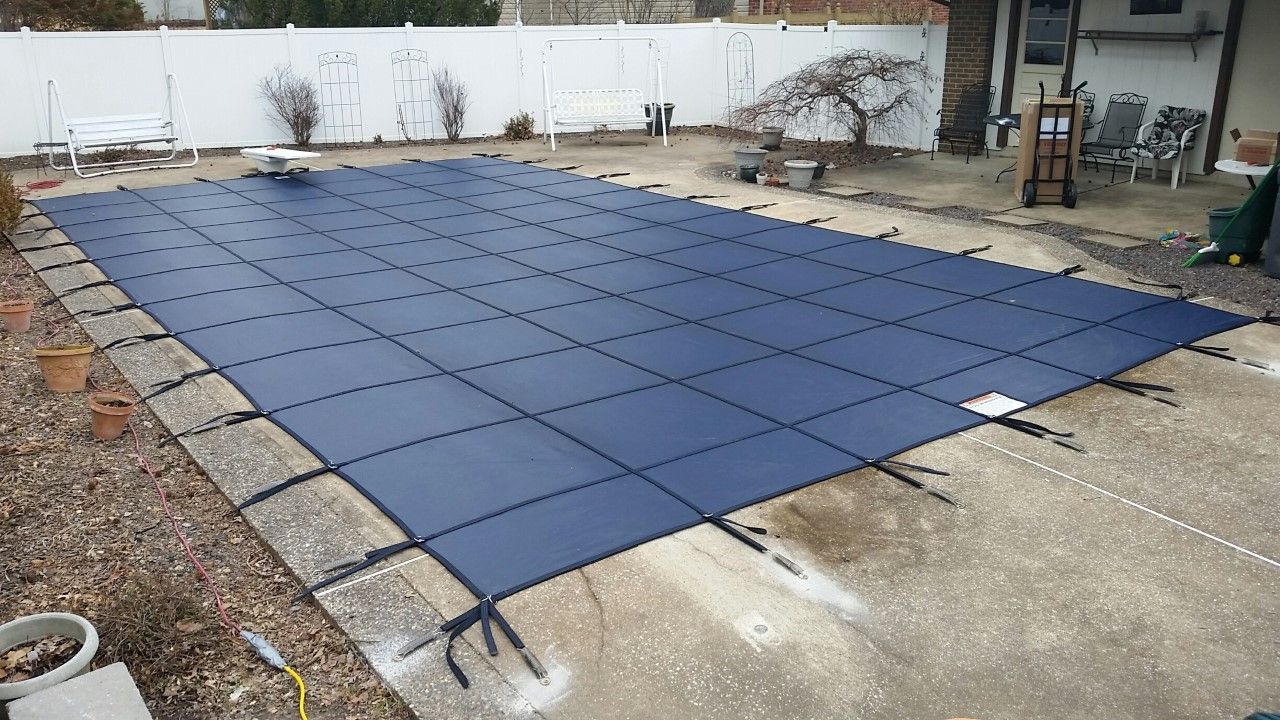
      Care and Maintenance of your pool safety cover


      By following these simple steps you can greatly increase the life and quality of your safety cover.

      • The springs should be very taut upon initial installation. In time, the cover will relax and the tension will ease.
      • The cover is designed to screen out leaves and other debris. Clear water can only be maintained if proper levels of chlorine and algaecide are maintained.
      • Water levels must be maintained within 18″ of the top of the pool during the snow season. Failure to do so will place undue strain on the cover and void the warranty.
      • Debris may be easily hosed off of a properly installed cover.
      • Removal and subsequent installation is made easier if the cover is fan folded.
      • Store the cover in the storage bag included. Hang the bag off of the floor so the cover can drain.
      • Flush out anchor casings with a hose several times a year to prevent sticking.
      • For solid cover owners: To clean the debris screen, remove cover, open and fold back the mesh panel on top of the cover. Hose the filter screen off from behind to remove fine debris. Close panel and store.

      Related products

      Safety Cover Installation Wood Anchor

      Wood Anchor Installation

      Safety Cover Installation Brass Anchor

      Brass Anchor Installation

      Safety Cover Installation Step3

      Rectangular Safety Cover Installation Instructions

      Safety Cover Installation DiagramA

      Installation Rod Instructions

      Safety Cover Figure1

      Custom Safety Cover Installation Instructions

      Install Guides pic 1

      Lawn Tube Installation

      MightyCovers.com Company Logo

      Cannot find what you are looking for? Email us, or you can call us Toll Free: 888-246-6909
      www.MightyCovers.com * 155 North Main Street - Ste #201 * Collierville, TN 38017
      Copyright 2009 - 2021 © by Mighty Covers ® All Rights Reserved

      Email button to email Mighty Covers Support    Button to Mighty Covers' Facebook Page    Button to Mighty Covers Twitter

      Site Map
      • AUTOMOBILE CAR
        • Auto Truck SUV Covers
      • BOATS
        • Boat Covers
        • Jet Ski Covers
      • RECREATIONAL VEHICLES
        • Golf Cart Covers
        • RV Covers
      • POWERSPORT COVERS
        • ATV UTV Covers
        • Snowmobile Covers
      • HOME / LAWN EQUIPMENT
        • Tractor / Mower Protective Covers
        • Air Conditioner Covers
        • Utility Equipment Covers
        • Snow Thrower Covers
      • PATIO FURNITURE
        • Outdoor Furniture Covers
        • Grill Covers
        • Patio Umbrellas
      • PATIO COVERS
        • Shade Sail Covers
        • Shade Cloths
        • Portable Shade Canopies
      • PLAYGROUNDS & SWINGSETS
        • Swing Set Canopy Tarps
        • Sandbox Covers
      • SWIMMING POOL
        • Pool Covers & Accessories
        • Safety Covers
        • Solar Pool Covers
      • Login
      • Toll Free: 888-246-6909

        Hours: 8am-5pm Weekdays Central Time.
        Closed Weekends

      Login

      Lost your password?